How to photograph clothing for virtual try-on that actually works

Quick answer
Merchants setting up virtual try-on usually spend their attention on picking the right app or the right pricing plan. The photo they upload for each product gets far less thought, even though it is the single input the AI has the most control over. The shopper's photo is out of your hands. Your own product photo is not.
Why the source photo matters
An AI virtual try-on engine reads a garment's shape, color, and texture from one reference photo, or two if a back view is provided, and maps that onto a completely different photo of a real person. The output can only be as accurate as the input. If the source photo is soft, dim, or shot at an odd angle, the AI is reconstructing guesswork on top of guesswork by the time it reaches the shopper.
This is different from photographing a product for a normal store listing, where a stylish lifestyle shot can help sell the item on its own. A virtual try-on engine does not need the garment to look appealing by itself. It needs the garment to be legible: a clear outline, true colors, and visible fabric detail it can transplant onto someone else's photo.
Background and lighting
A plain, neutral background is the single easiest improvement most merchants can make. White or light gray works best because it gives the AI a clean edge to separate the garment from everything around it. Even, diffuse lighting matters just as much: hard shadows or a strong colored light can shift how the AI reads the garment's actual color, and creases that are visible in the source photo tend to show up amplified in the result.
- Steam or iron the garment first. Wrinkles in the input photo become more visible wrinkles in the AI output, not less.
- Shoot against a plain white or light gray surface. Busy backgrounds, patterned floors, and props make it harder for the AI to isolate the garment's edges.
- Use even, diffuse light. Avoid a single hard light source that creates strong shadows across the fabric or shifts its true color.
- Shoot straight on, not at an angle. A garment photographed at a tilt or from too far above distorts its proportions before the AI ever sees it.
- Use the highest resolution photo you have. A sharp source image gives the AI real stitching, weave, and texture to render, not just a rough shape.
Flat lay, mannequin, or on-model?
For a standard ecommerce listing, flat lay, ghost mannequin, and on-model photography each have a place, and many stores mix all three. For a virtual try-on reference photo specifically, flat lay, hanger, or ghost mannequin shots work best. A photo where the garment is already being worn by a different model can confuse the AI: it now has to work out which parts of the image are the garment and which parts are a person it needs to ignore, instead of reading one clean object.
A flat lay or a garment shown flat on a hanger against a plain background gives the AI exactly one thing to interpret. That is also the same photo most stores already have on hand for their product listing, so this rarely means a separate photoshoot, just a check that the shot follows the guidance above.
Front and back photos
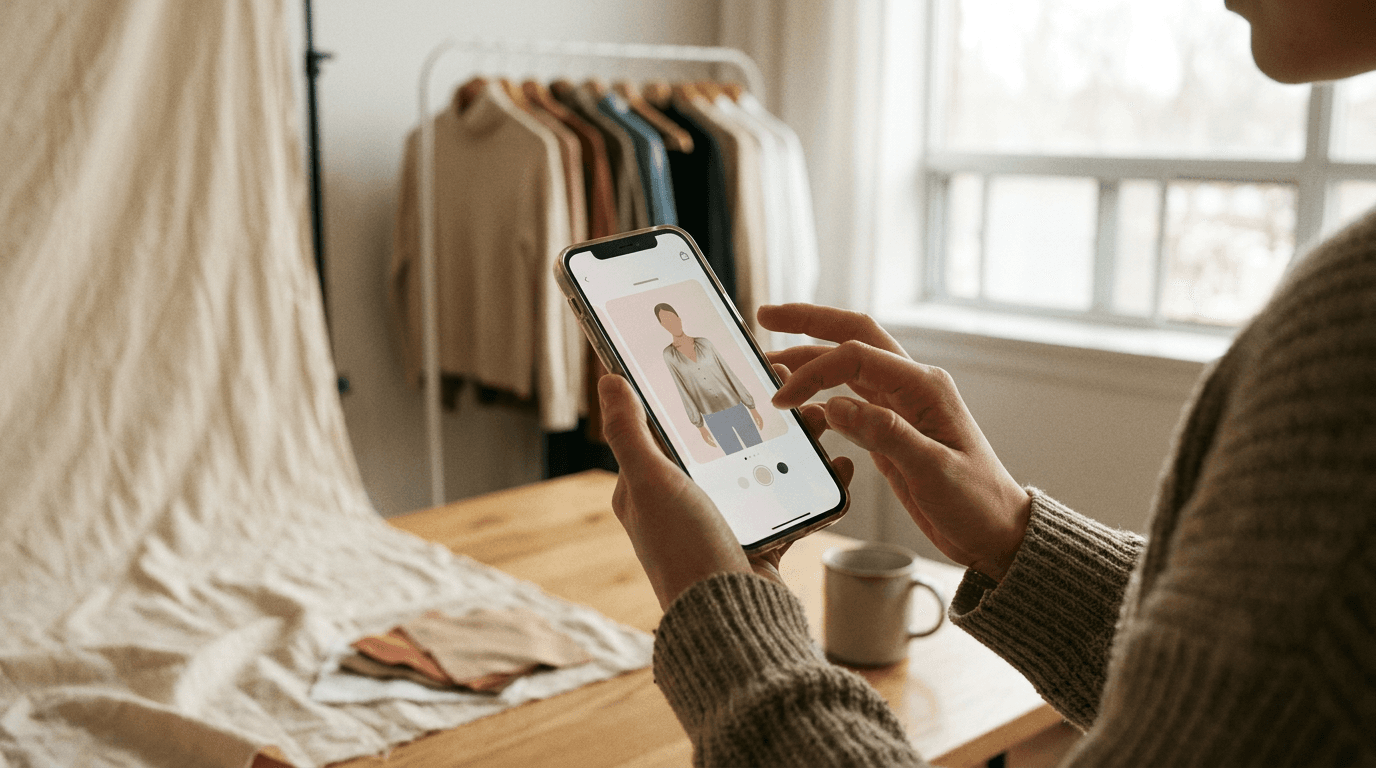
Most garments only need a front photo. But anything with meaningful detail on the back, an embroidered panel on a jacket, a graphic print on a t-shirt, a structured collar, benefits from a dedicated back-view photo too. Corlen supports uploading a separate back-view image per product, and when one exists, it becomes the authoritative reference for a back-angle result instead of the AI inventing what the back probably looks like.
- Structured jackets and coats often look noticeably better with a real back photo, since the AI no longer has to guess at seams and panel lines it never saw.
- Printed or embroidered pieces need a back photo whenever the design itself is on the back, otherwise that detail simply cannot appear in a back-angle result.
- Plain basics (a solid t-shirt, a plain kurta) usually do fine with a front photo alone, since there is little back detail to lose.
Common mistakes to avoid
Most bad virtual try-on results trace back to one of a small number of avoidable photo problems, not a limitation of the AI itself:
- A colored or patterned background that touches the garment's edge, which blurs where the fabric actually ends.
- A lifestyle shot with the garment already worn by someone else, which gives the AI a second person to disentangle from the one it needs to keep.
- Heavy shadows or a strong colored light, which shifts the garment's true color in the output.
- A low-resolution or upscaled photo, which leaves the AI with less real texture than it needs.
- A cropped photo that cuts off part of the garment, which leaves a gap the AI has to invent rather than reproduce.
None of this requires a professional studio. A phone camera, a plain wall or a roll of white paper, and daylight from a window is enough to produce a garment photo that a virtual try-on engine can work with cleanly. Merchants setting this up on Shopify can see the exact upload flow in how to add virtual try-on to your Shopify store, and developers integrating a catalog directly can check the image requirements in the API docs.
The short version: spend five minutes on the garment photo before you spend money on the AI. It is the one input in the whole pipeline you fully control, and it caps how good every single try-on result can be. Try it yourself with one of your own product photos to see the difference a clean shot makes.
Frequently asked questions
What's the best type of photo to upload for virtual try-on: flat lay or on-model?
A flat lay, hanger shot, or ghost mannequin photo works best as the source image. A photo of the garment already worn by a different model can confuse an AI try-on engine about what to keep and what to replace, since it now has to separate two people instead of one.
Does photo resolution matter for virtual try-on?
Yes. The AI can only preserve detail that exists in the source photo, so a low-resolution or blurry garment image produces a soft, less convincing result. A sharp, well-lit photo at a reasonable resolution gives the model real fabric texture and stitching to work with.
Do I need a photo of the back of the garment too?
Not always, but it helps for anything with back detail: a graphic print, an embroidered panel, a structured jacket, or a back-angle result you want to show. Corlen lets a merchant upload a separate back-view photo per product, which becomes the authoritative reference for that view instead of the AI guessing.
Can I reuse my existing online store product photos?
Often, yes, if they already follow good practice: a clean background, even lighting, and the garment shown flat or on a mannequin rather than buried in a lifestyle scene. If your current photos are moody lifestyle shots with props and shadows, a quick flat-lay reshoot will produce noticeably better try-on results.
What single mistake hurts virtual try-on results the most?
A cluttered or colored background that touches the garment's edges. It makes it hard for the AI to tell where the fabric ends, which shows up as blurred edges, wrong colors bleeding in, or a garment that looks pasted on rather than worn.
Ready to add real try-on to your store?
Install Corlen on Shopify in minutes, or build it into your own platform with the developer API.
Similar posts
Virtual Fitting Room Software: What It Is and How to Choose One
Virtual fitting room software covers AR overlays, 3D body scanning, and AI photo try-on. Here is what each actually does and how to pick the right one.
Read articleGuidesVirtual Try-On for Big and Tall Clothing: Solving Two Fit Problems at Once
Big and tall sizing has to solve girth and length at the same time, and a size chart alone rarely does both. Here is what a fit preview needs to get right.
Read articleGuidesVirtual Try-On for Halloween Costumes: Why Costume Sizing Is Its Own Problem
Costume sizing rarely matches everyday clothing charts, and a bad fit often arrives too close to the date to fix. Here is how a fit preview helps.
Read articleSee it on your own photo
Corlen shows your customers how any garment looks on their own body, in seconds. Try it free, no account needed.
Try Corlen free